BACK
Materials:
︎ basswood
︎ clear 12x6” 1/8” thick acrylic
︎ radiant iridescent 12x6” 1/8” thick acrylic
︎ yellow opaque 12x6” 1/8” thick acrylic
︎ pink fluorescent 12x6” 1/8” thick acrylic
︎ acrylic solvent
︎ vanilla acrylic paint
︎ polycrylic protective finish
︎ wood glue
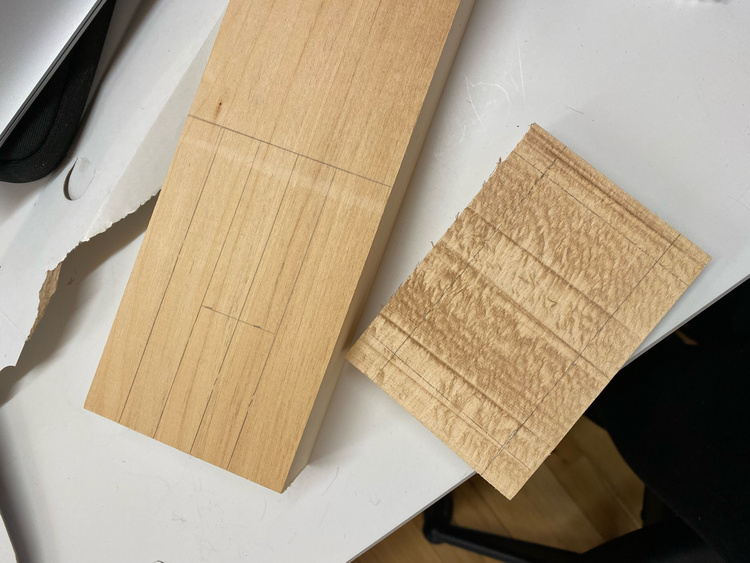
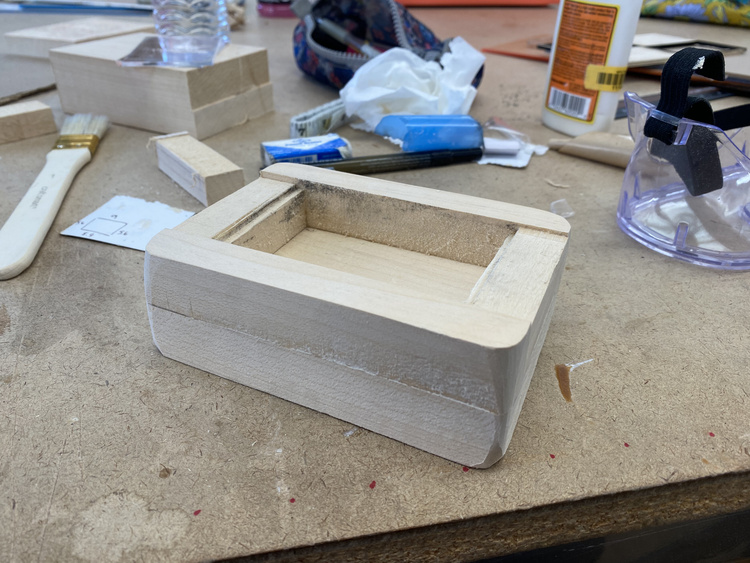
I first cut out the sink base using basswood with the bandsaw. I also cut out small ledges on the width pieces for the acrylic cover to rest on. I sanded the ledges with the dremmel and sanded the whole thing + rounded the corners with the belts sander.
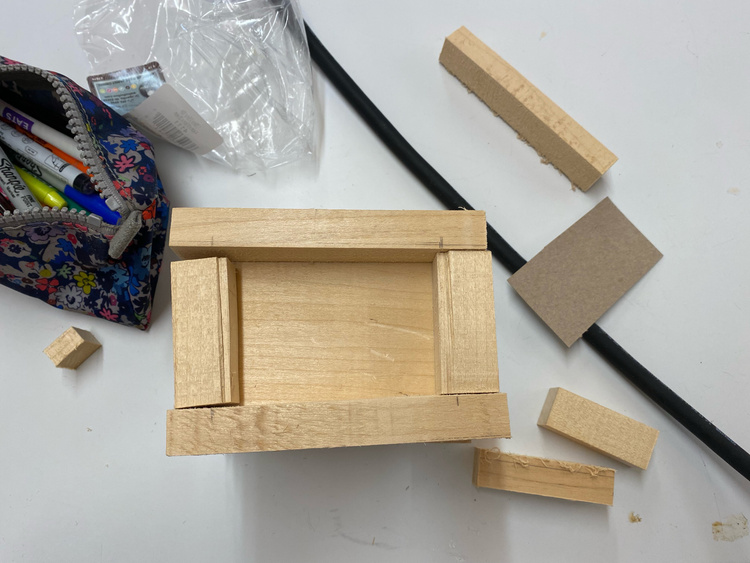
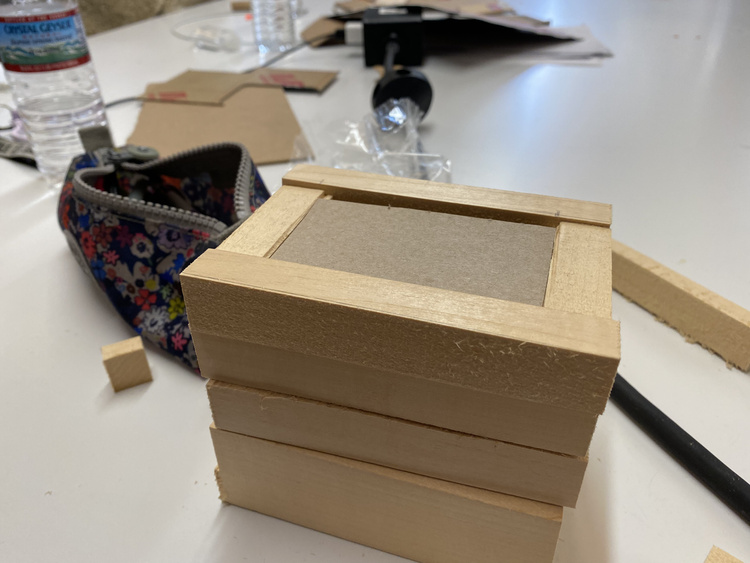
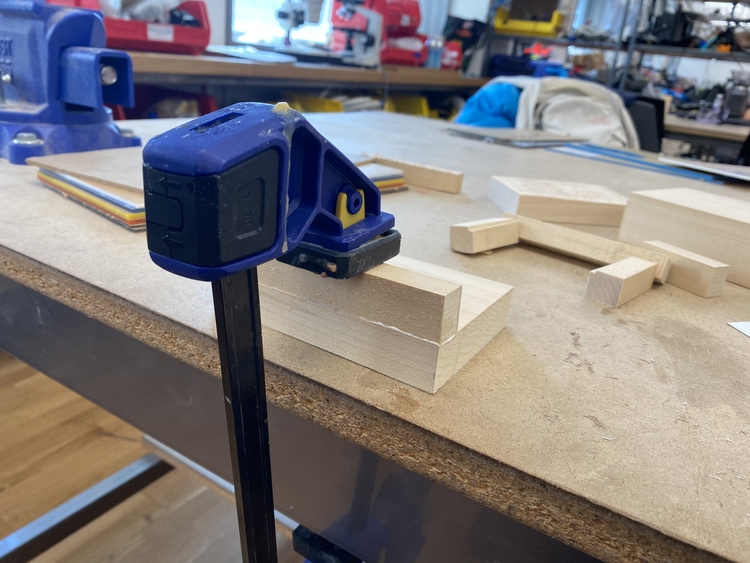
Assembled the sink base using clamps + wood glue
![]()
![]()
![]()
Sink faucet + knobs
Rubber ducky
![]()
![]()
![]()
Decided to paint the base with some vanilla paint since my acrylic panels were clear.
All my acrylic pieces cut out!
︎ Iridescent base
︎ Clear cover
︎ Checkered wall panels(I should’ve peeled the paper cover off the acrylic before engraving… every grid had to be peeled off individually. But I ended up liking the checkerboard effect!)
︎ Pink fluorescent faucet + knobs
︎ Yellow opaque rubber ducky
![]()
![]()
![]()
Materials:
︎ basswood
︎ clear 12x6” 1/8” thick acrylic
︎ radiant iridescent 12x6” 1/8” thick acrylic
︎ yellow opaque 12x6” 1/8” thick acrylic
︎ pink fluorescent 12x6” 1/8” thick acrylic
︎ acrylic solvent
︎ vanilla acrylic paint
︎ polycrylic protective finish
︎ wood glue

I first cut out the sink base using basswood with the bandsaw. I also cut out small ledges on the width pieces for the acrylic cover to rest on. I sanded the ledges with the dremmel and sanded the whole thing + rounded the corners with the belts sander.


Assembled the sink base using clamps + wood glue


Time for measurements and Illustrator work!
Panels for the sides + top of the sink base. I also added a grid engraving for detail.
Panels for the sides + top of the sink base. I also added a grid engraving for detail.


Sink faucet + knobs
Rubber ducky


I did some trial pieces with scrap wood to fit the base of the sink and the cover. Very glad I tried before using my acrylic because I had to make a few adjustments.

Decided to paint the base with some vanilla paint since my acrylic panels were clear.
All my acrylic pieces cut out!
︎ Iridescent base
︎ Clear cover
︎ Checkered wall panels(I should’ve peeled the paper cover off the acrylic before engraving… every grid had to be peeled off individually. But I ended up liking the checkerboard effect!)
︎ Pink fluorescent faucet + knobs
︎ Yellow opaque rubber ducky

Decided to try some polycrylic protective wood finish I found in the shop cabinet to seal some of the rough wood I wasn’t able to sand and make it glossy.


Putting it together with acrylic solvent! … super runny and messy and I got glue everywhere but I made it work…
Learned A LOT from this project. It was my first time working with 2 different materials: acrylic + wood. I sanded the sides a little crooked so some of the acrylic panels don’t sit flush to the wood. But it was good practice going through the process and next time around I definitely want to work on precision + measurements. I’m pretty happy with how it turned out!
